goldneagle
Well-known member
- 4,744
- 1,519
- 113
- Location
- Slidell, LA
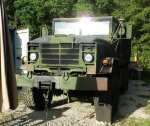
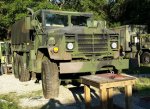
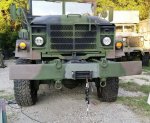
Thanks PB! Maybe one year you can make it down again to the Louisiana Rally. Then you can check out the fleet. I promise to have sammmiches and moonshine cake available.That truck is beautiful. Hope I can see it one day Bro.
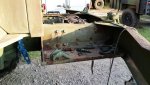
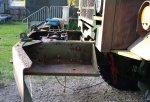
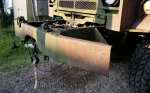


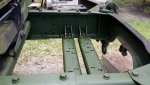
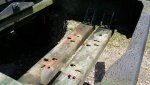

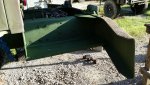
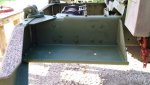
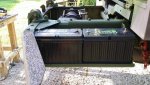
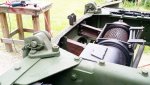
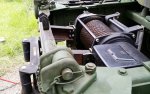
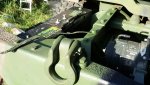
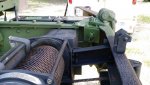
") Are you going to build some covers for those battery banks, or are you leaving them exposed?
Are you going to build some covers for those battery banks, or are you leaving them exposed?