Lieutenant Dan
Member
- 862
- 6
- 18
- Location
- Reading Pa
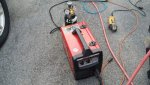
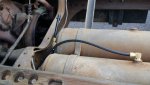
Nope but ya never know.... I got a 4" stack this weekend should be plenty to do the Snorkel and exhaust.
Steel Soldiers now has a few new forums, read more about it at: New Munitions Forums!


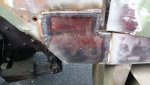

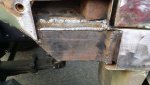
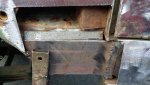
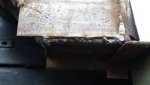
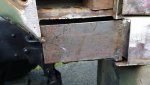
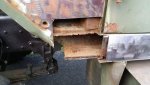

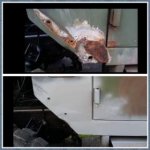
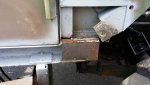
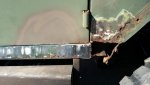
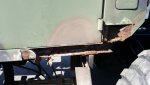
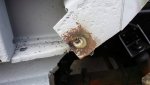
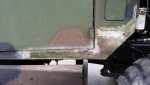
If you read this thread; or this one, or maybe this... you'll find the answer to your questions........... What gauge steel do you use?...........So what is in these rockers that leads to this common issue? My rust is further back, only underneath. It looks like a sandwich of metal layers in there. Where does the water get in?


We get it, advertisements are annoying!
Sure, ad-blocking software does a great job at blocking ads, but it also blocks useful features of our website like our supporting vendors. Their ads help keep Steel Soldiers going. Please consider disabling your ad blockers for the site. Thanks!