gentrysgarage
Active member
- 553
- 118
- 43
- Location
- Lost Angels, CA
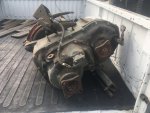
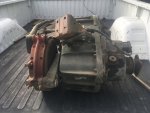
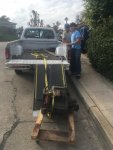
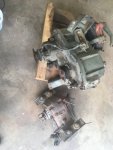
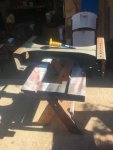
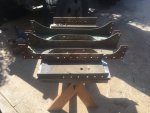
Just a picture dump!


Steel Soldiers now has a few new forums, read more about it at: New Munitions Forums!


If I had to do it again, I WOULD source a 6.5 turbocharged with mechanical injection...having to change alot for the Cummins and the LARGE SAE2 flywheel housing adapter...I fully understand why Uncle Stude and Aunt Reo went with that weird SAE 2 1/2'ish flywheel housing!What's that big rectangle thing sitting on top of the 302. Looks like she's Cummin along!
I just moved the M211 into Duramax project with a man that also has some mad fabrication skills. We're looking forward to those engine mount recipes and photos so we can see how it's done. Nice progress.


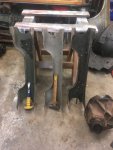
HiYa Plowboy,Hey, I'm just a landscaper and certainly don't know a lot about mechanical. .......but if you're going to use wood for a power steering box, go with a hard wood like Oak.


I know exactly what that is but already have a shirt so can I just tag along? It's cool seeing the jigs and parts coming together. One bite at a time, take it apart, paint it, reassemble and drive.I built something yesterday and if I knew were the Team G749 t shirts were I' WOULD have offered a medium (only size left) t shirt to whoever would guess what I have rigged up...so just a virtual Cupi doll to the winner!
This time the prize is a virtual Cupi doll as I can't find the dang t-shirts.I know exactly what that is but already have a shirt so can I just tag along? It's cool seeing the jigs and parts coming together. One bite at a time, take it apart, paint it, reassemble and drive.
The vinegar bath results are awesome. Keep paddling brother!