rockman
Member
- 795
- 3
- 18
- Location
- Kingsport, TN
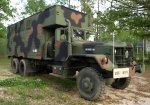
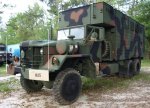
GE, very nice truck and thanks for the pictures. Looks like you are all set for camping season...
Steel Soldiers now has a few new forums, read more about it at: New Munitions Forums!


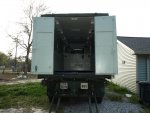
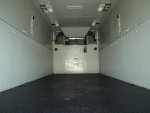
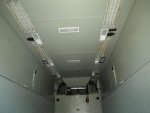
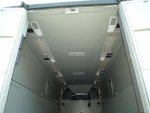
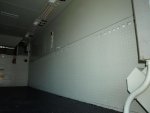
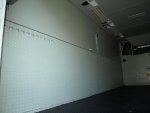

Thanks, I think so too.The truck is really looking good! I like your interior colors for the box.
")
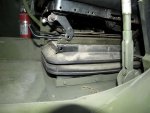
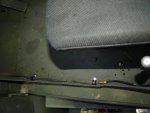
Thank you for the compliments. Can't take any pictures with the truck expanded. I have some equipment stored in it so no room to work. I will need help to expand the body. Its really not an easy one man operation!That is awesome! you thinking bout upgrading the tires? and take some more pics now with the paint and it opened up.
 :
: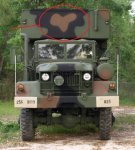
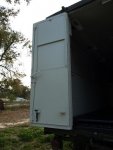
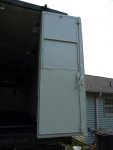
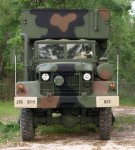
Beautiful 820, GE. Did you notice the heart in the camo? I wonder if that was intentional.....


I have done some modifications on it since i posted this thread. Super singled the tires, A/C in the cab, additional tool boxes behind the cab, and Auxiliary Fuel Tank. The threads are located under the 5 ton section. Do a search by my USER NAME.Nice truck! Let me know if you ever want to part with it.