11/21/2015 progress
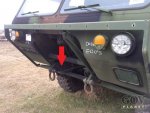
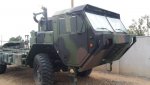
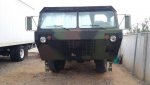
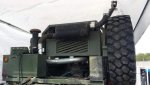
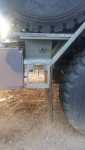
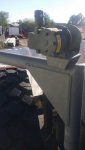
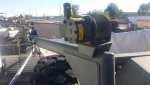
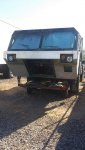
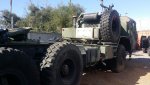
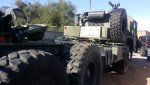
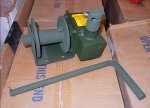
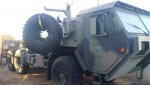
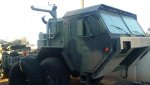
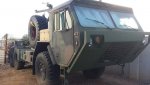
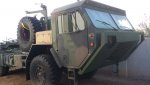
Some progress today finishing the steps behind the fenders today, and mounting the hand crank winch on the tire davit. Still need to buy some cable for the winch. The truck will also have slave ports on both sides. I also added D- rings to the top of the dog house today. The d-rings will be used for lifting off the dog-house if the engine ever needs to be removed.
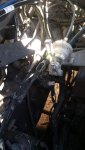
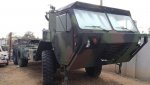
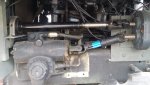
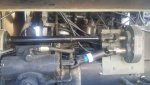
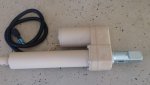
Also received the end yoke in the mail for the steering. So now I have everything i need to connect the steering. Need to just tighten bolt everything in place now. Next weekend my plans are to get the steering completed, top doghouse welded down, build bracket for the air throttle on the engine, and mount up the front brush guard again if it is finished by the fabrication shop. Also I will have the accessory boxes that I am picking up from Nellis this week to start mounting behind the doghouse. Picking up a pallet of thick metal to make the front tow brackets. A few photos are attached this week. I want to be able to finish all the metal work by the end of December, and January dedicate 3 weekend to paint, add stencils, and get it ready for the Arizona Military vehicle show.


![[thumbzup]](https://www.steelsoldiers.com/images/smilies/icon_smile_thumzup.gif "Thumbs Up [thumbzup]")
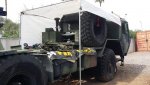

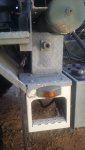


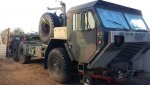

") Actually those are for my small trailer that I use as a workbench, and storage of extra metal while I work on the project. I keep making a "To Do list" and always end up adding more little things to do. For example, many of the little things include capping off all open square tube, adding the rubber fender extensions around the fenders, build tool boxes in front of the front wheels so the fender well opening is the same distance on all sides of the tire.......and the list only gets bigger the longer I think.
Actually those are for my small trailer that I use as a workbench, and storage of extra metal while I work on the project. I keep making a "To Do list" and always end up adding more little things to do. For example, many of the little things include capping off all open square tube, adding the rubber fender extensions around the fenders, build tool boxes in front of the front wheels so the fender well opening is the same distance on all sides of the tire.......and the list only gets bigger the longer I think.