- 561
- 789
- 93
- Location
- Canton, PA
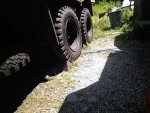
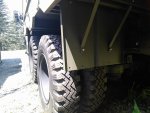
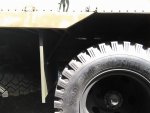
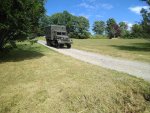
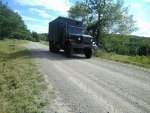
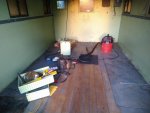
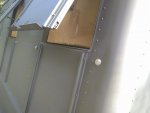
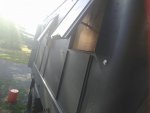
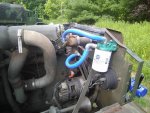
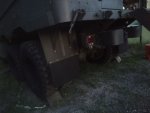
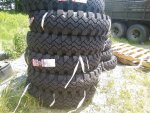
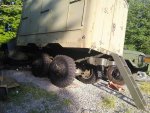
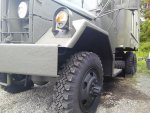
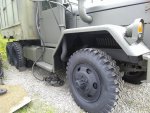
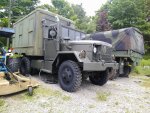
Lots of progress has been made in the last week and a half. I got 11 brand new 9r20 power king super traction hd tires will all new tubes for the truck. I wanted a more aggressive stock tire to keep the same power and torque but also have better traction. I broke all 11 tires down and sanded and primed and painted them and reassembled. Fuel tank came in and put brand new gaskets and fuel sending unit in the tank. Checked for leaks and no issues. Tank is squeaky clean. Painted the tank. The truck turns amazing with the 9r20 radials, just like my cargo does with g177 tires. Excited to get it finished up and take it for a spin.
Attachments
-
 241.3 KB Views: 37
 -
 209.1 KB Views: 38
 -
 180.7 KB Views: 37
 -
 177.7 KB Views: 41
 -
 247.8 KB Views: 42