Nice looking bobber downeast! I will likely maintain a camo pattern of sorts bit perhaps omit the brown. Though I still have a nagging desire to have a somewhat accurate color scheme.
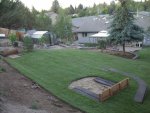
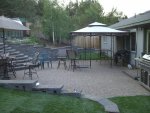
In other news... The backyard project that I alluded to at the start of the thread is coming along great. Sadly it is looking like I won't get to paint the deuce this summer, I will have to wait until next summer.
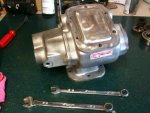
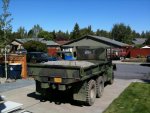
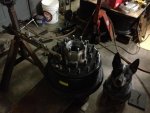
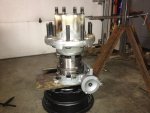
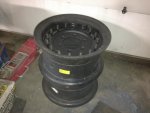
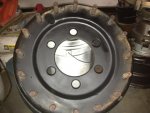
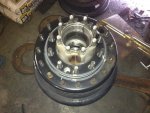
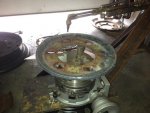
Hopefully I will have the pto all rebuilt along with the crane. I have at least found the time to clean it all up.
In other news... The backyard project that I alluded to at the start of the thread is coming along great. Sadly it is looking like I won't get to paint the deuce this summer, I will have to wait until next summer.
Hopefully I will have the pto all rebuilt along with the crane. I have at least found the time to clean it all up.
Attachments
-
 65.7 KB Views: 117

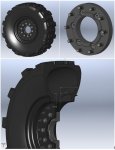
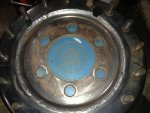
![IMG_2091[1].jpg](/data/attachments/205/205771-6e05976aaf272c2712bd026917208e28.jpg)

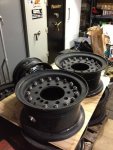
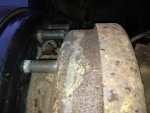
![IMG_2555[1].jpg](/data/attachments/220/220814-a1534c3c03005d9cb893e5445dcea477.jpg)
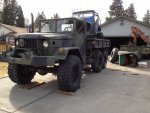
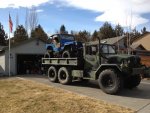
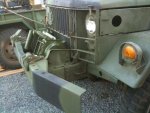
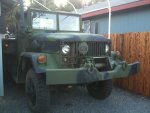
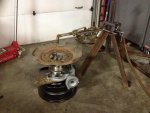
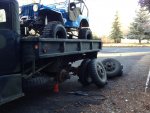
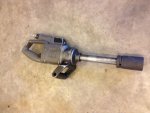
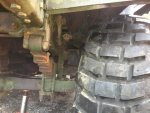
 ) It made very short work of removing the wheel and tire assemblies from the deuce.
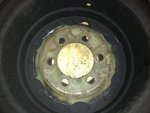
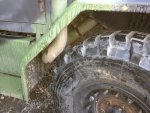
![IMG_2732[1].jpg](/data/attachments/222/222094-a0ade46d03f47c73a46e35913a38c20e.jpg)
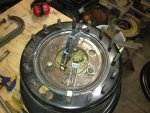
![IMG_2729[1].jpg](/data/attachments/222/222095-1989bde0f87283157f78d6cee80e7b59.jpg)