Csm Davis
Well-known member
- 4,169
- 406
- 83
- Location
- Hattiesburg, Mississippi
I will look this week and see where the military hooks them up.
Steel Soldiers now has a few new forums, read more about it at: New Munitions Forums!


Thanks Jeff. I didn't know they had air ride seats in the M939 series trucks, but they sure need them!I will look this week and see where the military hooks them up.
Thanks Jeff. I didn't know they had air ride seats in the M939 series trucks, but they sure need them!
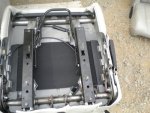
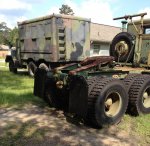
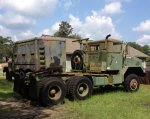
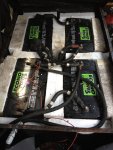
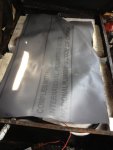
I am also thinking of replacing the bench seat with some buckets sets attached to the top of the battery box. I think one out of an extended cab truck would be best if the back tilted forward so I can raise the battery box cover.
If anyone has any suggestions they are welcome.
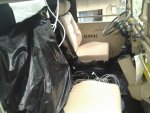
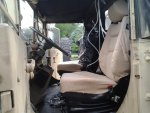
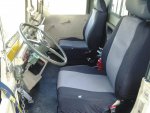
I would have loved to install a 2nd air ride seat but the battery relocation kit was priced at $750 on the internet. Way out of my price range for that kind of upgrade. I think installing bucket seats on top of the battery box lid will make a good compromise. Thanks for posting the pictures. Nice looking cab.The m939's with the armored cabs have air ride seats.
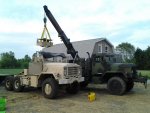
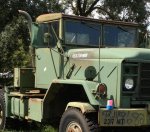
Suggestions? Ditch the bench seat for 2 air ride seats!
http://www.steelsoldiers.com/5-ton-...0-special-delivery-morning-6.html#post1143346

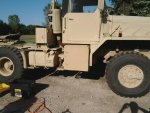
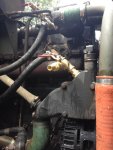
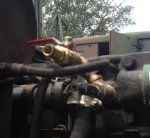
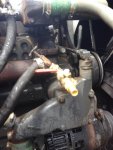
I like your suggestion. I will look into it tomorrow to see what it will take to tap in.A safe place on any 939 series truck to tap an air line for the seats is on the firewall right before the air horn solenoid valve. Typically that line is copper and you can just put a tee in it.
Can you give a seller and location?I bought mine for $300.


Since the reservoir was the flushing point of my cooling system clean out it got plenty of cleaning. I had the hose on full for quite a while! I appreciate the info. Every little bit helps.Goldneagle,
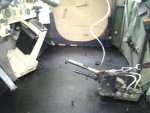
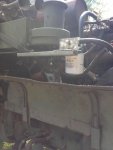
The bracket on top of my coolant reservoir is cracked so I took it off this morning. My antifreeze is pretty green and I had partially flushed it when I changed my water pump in Feb.
When I inverted the tank and started to wash it out to bring to the welding shop, lots of nasty rusty sludge came out. It was not apparent as I drained it dry and all was good but at an angle with the jet of the hose, I had some nastys come out for a few minutes.
Since you are doing a thorough cleansing, you might want to think about the reservoir.
Good Cleaning,
Juan
Thanks! Will be picking it up tomorrow. I'll check into it.Looking good. I like your Idea!
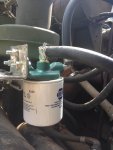
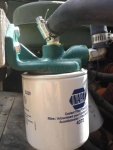
BTW, NAPA sells the coolant filter with the chemical additive loaded into the filter and it comes in different lengths but they use the same base. Check wix webpage if you need more info.

We get it, advertisements are annoying!
Sure, ad-blocking software does a great job at blocking ads, but it also blocks useful features of our website like our supporting vendors. Their ads help keep Steel Soldiers going. Please consider disabling your ad blockers for the site. Thanks!