Kaiserjeeps
Active member
- 459
- 7
- 28
- Location
- North Idaho in the woods
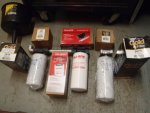
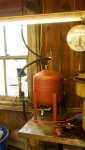
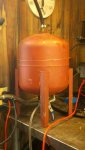
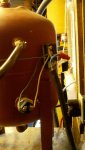
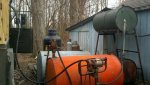
Ace hardware has several different 120VAC water heater elements. I did not know they made them. I am back in business and this simplifies things.
Most good hardware stores should have them.
Most good hardware stores should have them.