- 756
- 5
- 18
- Location
- C.G. JMTC MICHIGAN
It the video not working Chris.
Looking good.![[thumbzup]](https://www.steelsoldiers.com/images/smilies/icon_smile_thumzup.gif "Thumbs Up [thumbzup]")
Looking good.
Steel Soldiers now has a few new forums, read more about it at: New Munitions Forums!


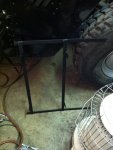
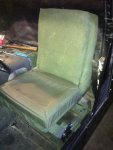
LOL, yep, still grinning. I didn't mind the cold wind and snow stinging my face nor did I mind the fact that I was sitting on a bucket of drywall mud because I couldn't find my seat brackets. Even my wife was grinning, but that was mostly because she can see the light at the end of the project tunnel and knows she'll be getting her parking spot in the garage back.What a manly sound that truck makes! Nothing like your first test drive! I bet you still have that grin on your face! Good job!
")
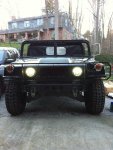
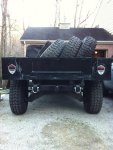
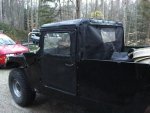
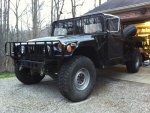
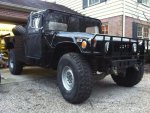
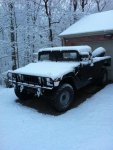
It is a 1985 ex-USMC HMMWV. The guy I got it from media blasted the tub and had it painted with Dupont Imron metallic black with silver accents. I am going to leave the black and paint anything that is silver with flat black paint.Was that a commercial (civy) truck that you fixed up or was it a mill truck that someone had civilianized? Looks good cept for those rims...I'm sure you'll be fixing that....
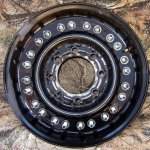
Yeah they'd look sweet on a M37!Nice. To bad the rims wont fit my M37 with M880 axles...
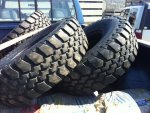
I have read that they have a fairly soft tread compound. I may have to upgrade to 17" wheels one of these days so I can run the 40" BFG's.I have the 24 bolt with bf's and I love them. They wear fast though. 10k miles and I can tell already.