
MidwestOverlanders
New member
- 1
- 0
- 1
- Location
- Indianapolis, IN
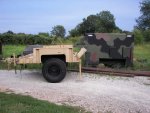
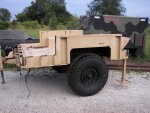
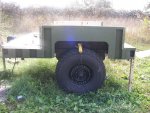
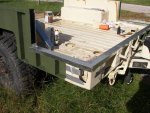
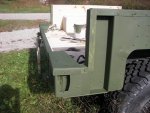
I now have two trailers in my arsenal. A 1966 M416 that i've rebuilt and now a 2007 M1101 that I just picked up this week from the Sept 21st Govplanet auction.
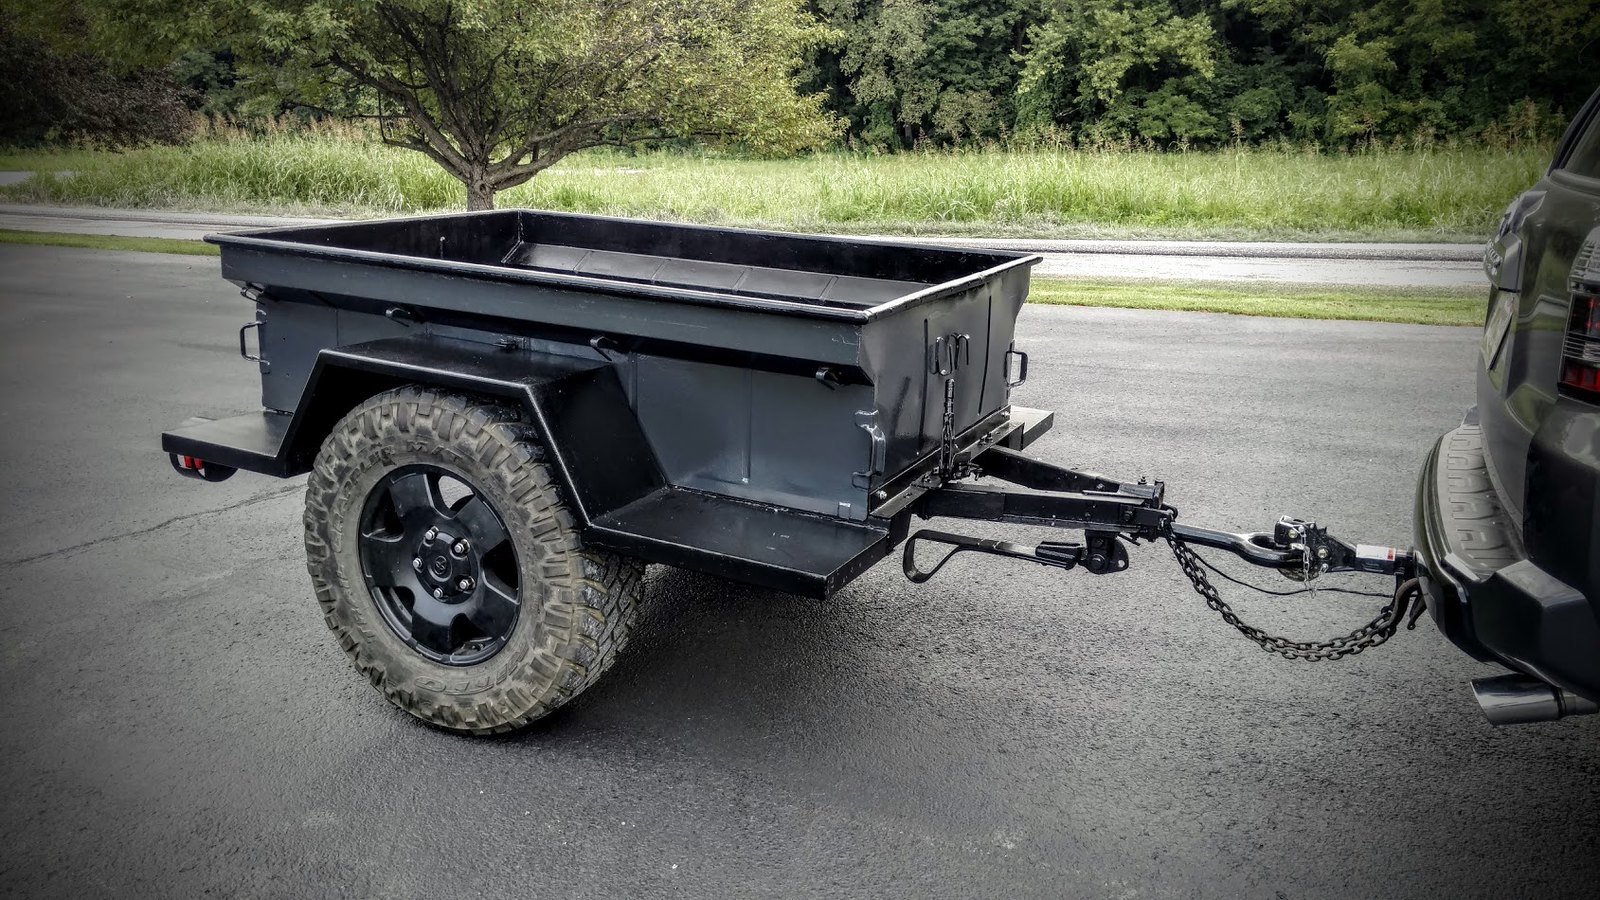 IMG_20160809_140754280 (1) by Cody Ash, on Flickr
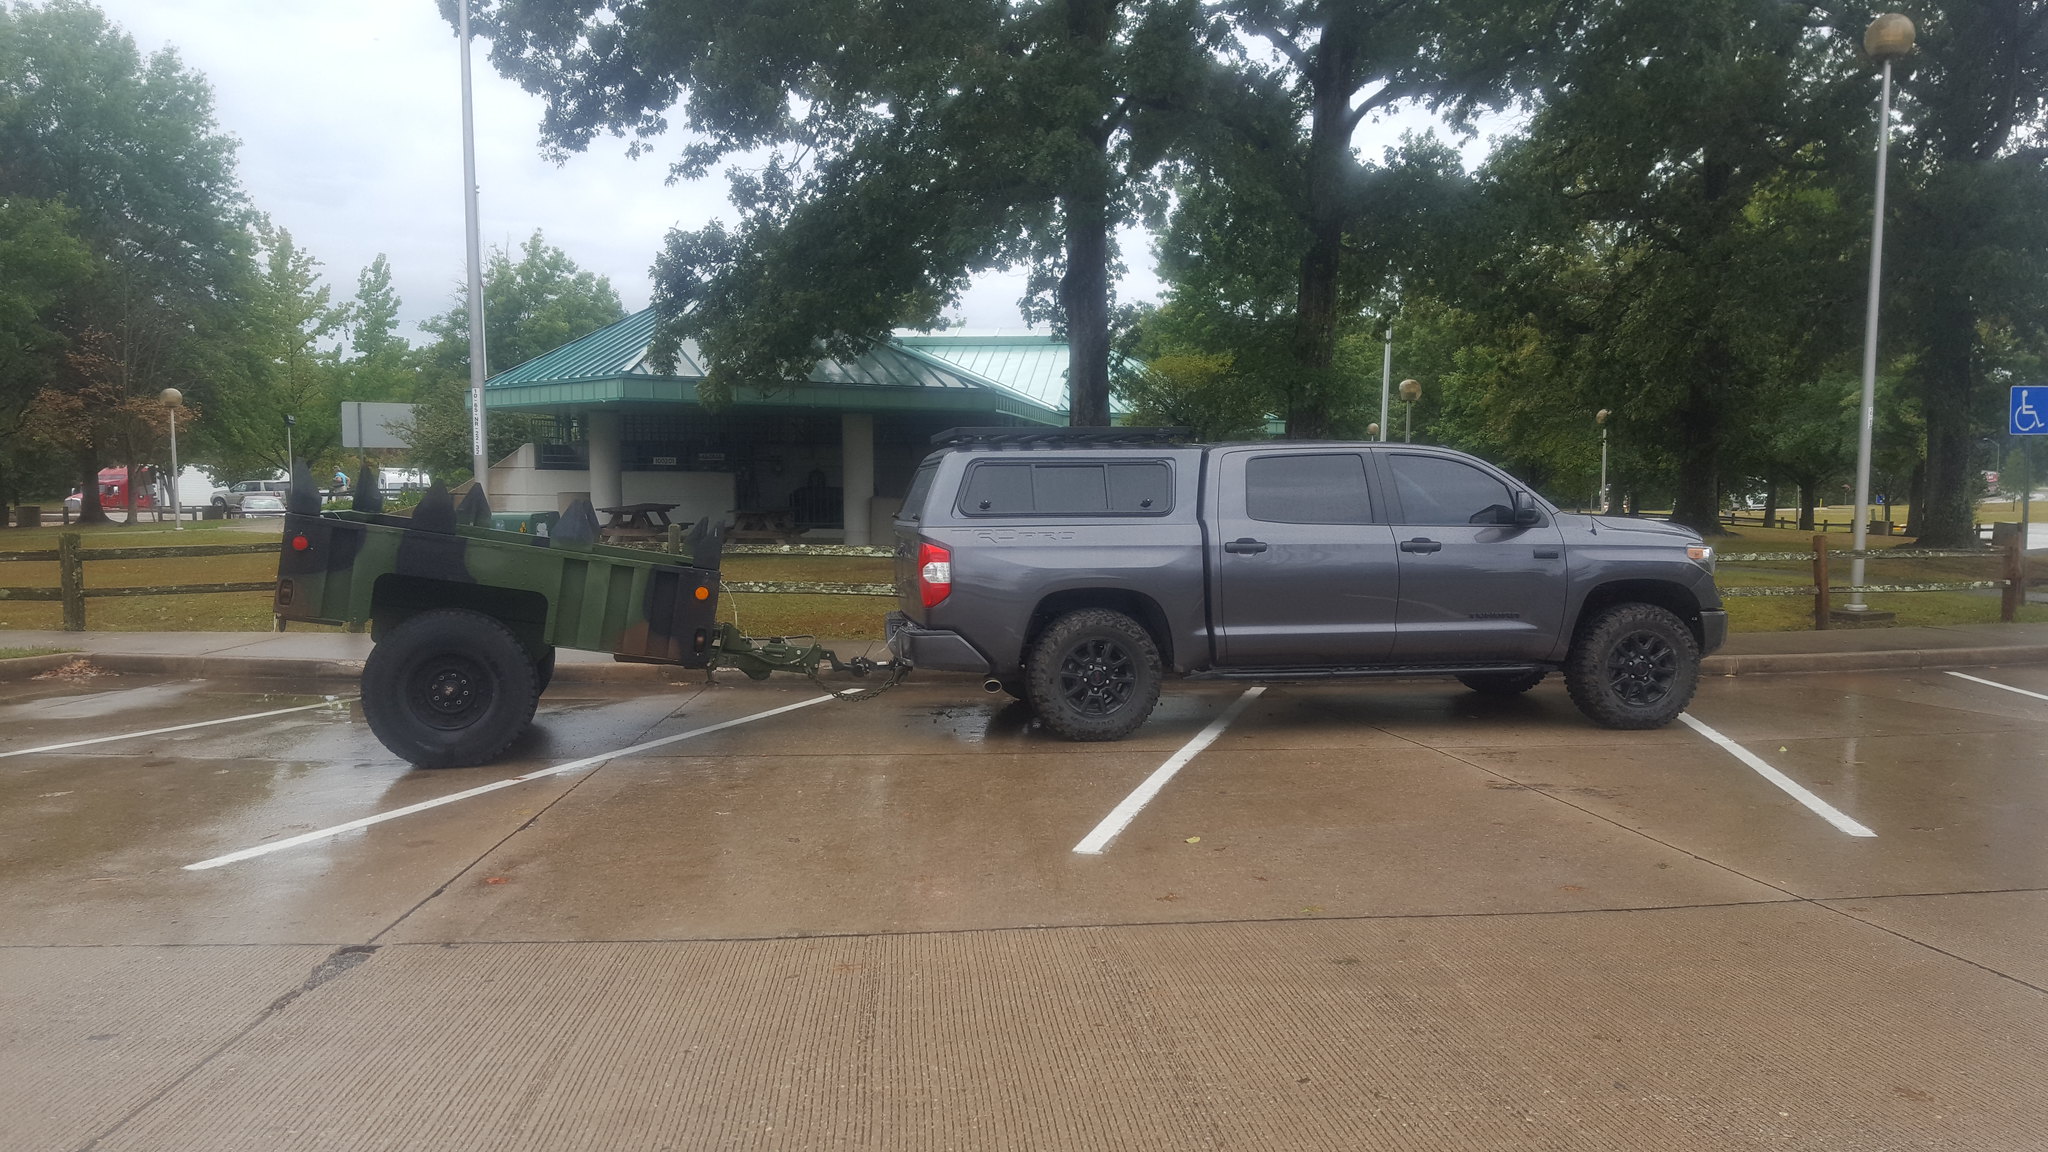 20160926_113654 by Cody Ash, on Flickr
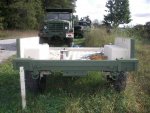
I'm prob going to end up selling the M416 now, as the M1101 fits our needs much better.
IMG_20160809_140754280 (1) by Cody Ash, on Flickr20160926_113654 by Cody Ash, on FlickrI'm prob going to end up selling the M416 now, as the M1101 fits our needs much better.


.jpg")
.jpg")