- 7,558
- 10,601
- 113
- Location
- Papalote, TX
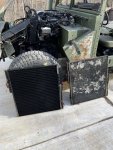
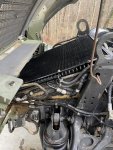
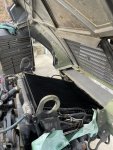
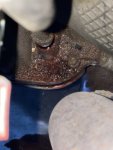
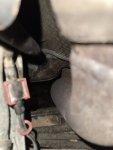
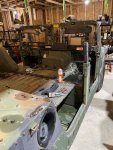
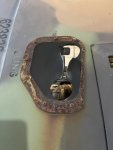
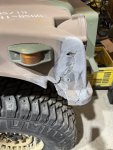
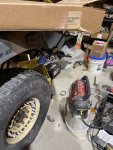
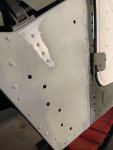
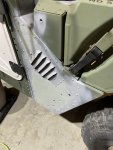
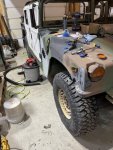
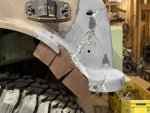
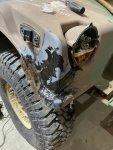
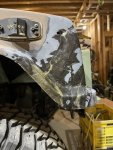
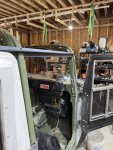
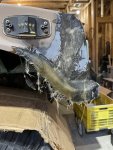
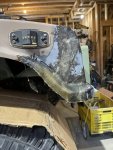
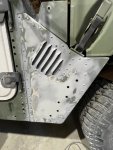
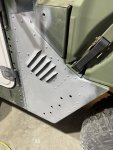
Welcome to the SS forums!!Discovered this thread and was crossing my fingers for info. I have an M1123 that threw its serpentine belt and I discovered the alt/ps pump bracket assembly was out of alignment. After pulling it apart found the three bolts into the head loose and almost out and the exhaust stud sheered off. The remains of the stud came right out of the head with no issues but have not found a source or part number for the exhaust manifold stud. Any input?
Did you look up the part in the parts TM, then search for that number??
All the usual suspects carry them IE HPG and Kascar (real4wd)
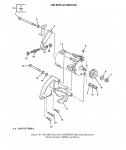
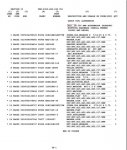
Quick lesson, your M1123 has a UOC (use on code) of NNN, if you look at number 18 which is the stud you seek you will see NNN as one of the UOC codes that that stud applies to, then you see part number 12339406-3, that is the manufacturers part number you can search that number first, if you do not find what you are looking for then search for the NSN number 5307013153597
All the TMs you need are listed in a sticky near the top of this forum.
The parts TM that I got this info from is TM 9-2320-280-24P-1
EDIT, for cost effectiveness you should look over your truck and gather as many small parts as you can in your shopping cart, otherwise the shipping will be disproportionate to the cost of a single piece, I would replace all the bolts that were loose and use a thread locker on them.
Attachments
-
 41.4 KB Views: 15
 -
 103.2 KB Views: 15
Last edited:


")