- 7,563
- 10,602
- 113
- Location
- Papalote, TX
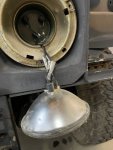
I was looking at those type of bore scopes, I bought one and it required me to give the app. access to my media (photos) AND my contact list, this gives the owners of the app access to all your contact information and stored pictures, read selling out all your friends contact information....At the risk of you saying I'm derailing the thread....
I use this one from Amazon and it is only $34 and it connects to your Smartphone. Works well and I use it for looking under or inside anything. As a matter of fact it is sitting here on my laptop.
DEPSTECH Wireless Endoscope, IP67 Waterproof WiFi Borescope Inspection 2.0 Megapixels HD Snake Camera for Android and iOS Smartphone, iPhone, iPad, Samsung -Black(11.5FT)
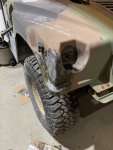
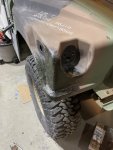
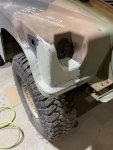
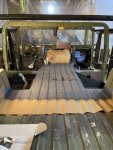
I'm reading the thread and have already picked up some stuff on my slightly bigger truck, especially the fiberglass. Thanks Chris and I'm enjoying the read.
")
This is extremely common with free apps (why they are free and the hardware cheap), why I don't use them, I just tossed the whole thing in the trash.