86m1028
Active member
- 1,687
- 17
- 38
- Location
- Murphy TEXAS
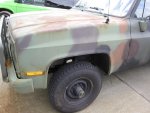
Have you used that before ? If so how does it wear ?Repainted door panels, seat belts etc with SEM color coat! Its a exact match!! Im really happy with the product!
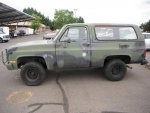
BTW camo job looks good.
Steel Soldiers now has a few new forums, read more about it at: New Munitions Forums!


Have you used that before ? If so how does it wear ?Repainted door panels, seat belts etc with SEM color coat! Its a exact match!! Im really happy with the product!

")
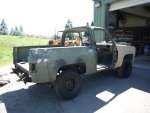
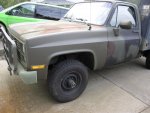 I even left the pintle hitch on, I did have to take the small tube off. I guess it was a brace for the Military hitch. The new hitch went right in and seemed to take that little tube braces place, every thing was real solid. I have already pulled my 20' flat bed trailer with a pretty big load of chain link fence and quick crete. replace heater core before cold weather- just by passed for now. Using this M1009 as a daily driver and I have been happy with it!!! Oh, one note on installing the hitch. I had to use dental floss to fish the foreward bolts through the frame to their holes but it wasnt to bad.
 Hey True Knight - what kind a gauge action you got going on there?Well I finally got tired of the reflection from the shifter and turn signal lever onto the gauges when it's bright out, so I painted them flat black.
opcorn: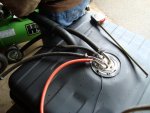

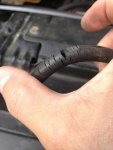
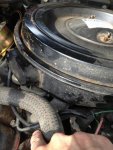
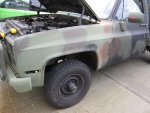
That is one of the vaccuum lines for the transmission. Good find and a cheap fix. Mine was the vaccuum lines and the pump. The pump had a dried up and cracked diaphragm.i replaced this hose...and my transmission slipping problems went away........fyi.....
We get it, advertisements are annoying!
Sure, ad-blocking software does a great job at blocking ads, but it also blocks useful features of our website like our supporting vendors. Their ads help keep Steel Soldiers going. Please consider disabling your ad blockers for the site. Thanks!