2INSANE
Well-known member
- 733
- 856
- 93
- Location
- Belgrade, Montana
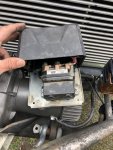
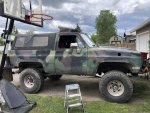
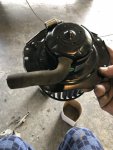
My 6.5 has much more power and torque then a 6.2. The 6.5 does not have the fuel economy that the 6.2 has.So I've had my 1009 for about... 5 months? Havent played with the fuel or timing or anything, fuel guage does not work so I fill it up every time I am on my way home from work.
Goin about 85 miles, I keep putting in only 3-3.5 gallons per fill.... meaning 24-28 mpg...
With such drastic differences in mpg between us... I can't help but think something may be wrong on my end? I fill up till the breather is coughing up diesel...
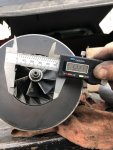
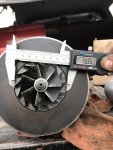
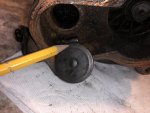
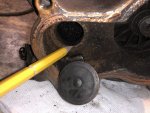
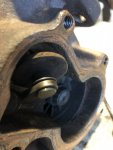
Edit: Or is the turbo what the big difference is?
There are many factors that are in play with mpg.
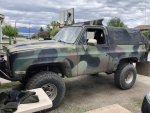
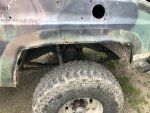
1. I have a 5 1/2” lift kit that creates more wind resistance.
2. I have 37” MTR tires that takes more power (Fuel) to get the wheels turning.
3. The Optimizer has bigger Precups allowing more fuel to pass into the cylinders.
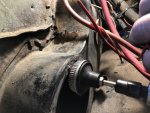
4. 6.5 diesel truck injection pumps have bigger plungers allowing more fuel to pass.
5. Higher out put electric lift pump
6. With a 700r4 allowing faster speeds, the added speed is more wind resistance.
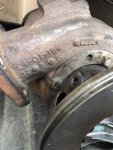
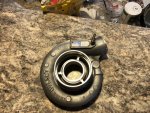
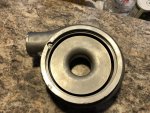
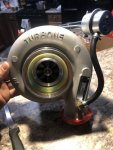
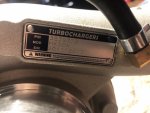
7. With the turbo 6.5 I can go up a 6% grade at 65 mph towing 4000+ pounds. A 6.2 can go up a 6% grade not towing at 25-45mph.
8. The 6.5 has a bigger bore cylinder, different Crank and different Cam which changes fuel economy as well.
A 6.2 with a turbo, it would have or should have better fuel economy and produce just about the same amount of power as a 6.5. That’s why the Banks sidewinder turbo is the 6.2 best option for added power.
I am positive that if I would have drove 55mph with the 700r4, my mpg would have been in the tune of 18-20mpg.
Last edited: