• Steel Soldiers now has a few new forums, read more about it at: New Munitions Forums!

  • Microsoft MSN, Live, Hotmail, Outlook email users may not be receiving emails. We are working to resolve this issue. Please add support@steelsoldiers.com to your trusted contacts.


Valence's M66 Gun Ring

Valence

Well-known member
Steel Soldiers Supporter
2,135
612
113
Location
Davis County, UT
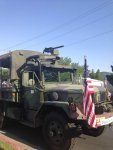
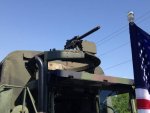
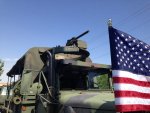
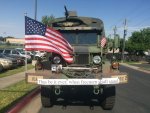
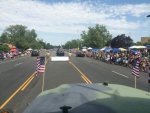
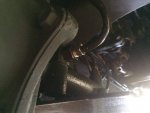
Well, God was willing, I made it to the 4th of July parade! At 8pm on July 3rd I had to replace a leaking copper crush washer on the banjo bolt on the brake line into the new, expensive air pack. Really, you'd think the parts suppliers would sell these washers at the same time they sell the air packs because you're very likely going to need them when you move over all your fittings.

The crush washer was surprisingly hard to find but a smart fellow (who actually works full time as an aircraft mechanic at Hill AFB) that I've become friends with at the local O'Reilly's ordered in some proper fitting washers and saved the day.
2016-07-03 08.28.54.jpg

So that was brake bleed #3 and a gallon of DOT 5 later. Brakes work really well and, according to my mother who was following me during a brake test, I can leave 4 strips of rubber on the road from locking up the rear. I suppose that's not very hard to do on a mostly empty bed. :p

I also noticed that the driver's side center axle will need to be opened back up as it appears to be leaking gear oil. Probably a failed key-way seal that I didn't get right. *sigh*, that'd be #2 in about 1 year since I went through the axles.


I didn't get the ammo can tray brackets fabricated in time, but the rest of it was good to go.
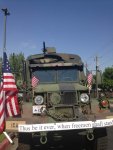
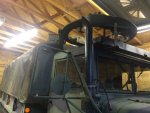
2016-07-04 09.25.43-1.jpg 2016-07-04 09.26.00-1.jpg 2016-07-04 10.23.05.jpg 2016-07-04 10.23.11.jpg 2016-07-04 09.49.45.jpg image.jpg
 
Last edited:

Valence

Well-known member
Steel Soldiers Supporter
2,135
612
113
Location
Davis County, UT
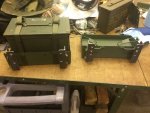
Speaking of ammo can tray brackets, here's my current progress. I mostly used the pair of photos provided to me by 98G (back here in post #34) as my reference.

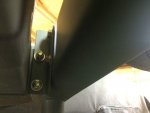
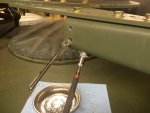
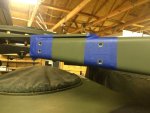
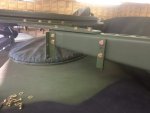
My front gun ring leg is a bit annoying as the right-most mounting holes are so far to the end that they're actually closer together than the left side - and the left side matches the evenly spaced right-rear leg ammo can tray mounting holes. The driver's-rear leg doesn't have any holes at all, so I'll probably drill that out to add at least 1 tray.

2016-07-03 19.34.23.jpg 2016-07-03 22.26.29.jpg

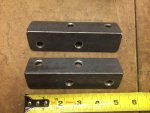
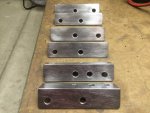
What I came up with was the following:
  • 1-1/4" wide, 1/8" thick angle iron stock
  • Each piece is 5" long
  • 3/8" holes
  • On each flat, the first hole is 5/8" from the end and the second hole is 2-3/4" from the same end (the holes are separated by 2-1/8")
    • Of course, you have to reverse which end you work from for the second bracket
  • Holes are 1/2" from the open side edge
    • This should give 9" between the left and right side mounting holes (to mount on the gun ring leg)

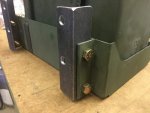
Since the ammo can tray holes and the gun ring leg mounting holes are separated by the same distance (2-1/8") doing like the above gives you two different mounting configurations:

Lower on the gun ring leg:

2016-07-03 19.34.35.jpg 2016-07-03 17.32.50.jpg 2016-07-03 18.02.50.jpg

And then if you swap the sides that the brackets are on, and turn them up-side-down:

Higher Mount on the gun ring leg:
2016-07-03 19.35.29.jpg 2016-07-03 17.28.09.jpg 2016-07-03 17.19.46.jpg
 
Last edited:

Valence

Well-known member
Steel Soldiers Supporter
2,135
612
113
Location
Davis County, UT
Now I cannot even see straight !
Thanks Valance, and thanks for putting up with my early senility ! All I got to say is "It sucks to grow old !!! "
No worries my friend, it's easy to miss little posts intermixed with my rampant ramblings and incoherent ruminating.
 
Last edited:
Valence

Well-known member
Steel Soldiers Supporter
2,135
612
113
Location
Davis County, UT
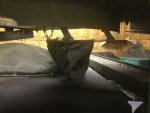
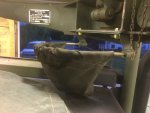
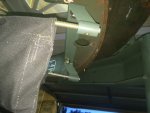
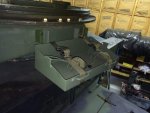
I put on the brass deflector. I wish it was a brass catcher as I don't want the brass banging all over the truck as it falls down... but I guess it'd at least keep hot brass from falling into the cab.

I purchased it as a complete set from BMGParts.com, though it's disappointing that the metal attachment bracket from BMG did not come with the set screws to hold the giant spring in place. So I actually used my old one that I sand blasted and had powder coated.
2016-07-07 21.19.29.jpg 2016-07-07 21.19.45.jpg 2016-07-07 21.20.29.jpg

I then just threw some zip-ties on it so the canvas wouldn't catch/flap in the wind while driving.
2016-07-07 21.21.54.jpg 2016-07-07 21.23.19.jpg
 

Valence

Well-known member
Steel Soldiers Supporter
2,135
612
113
Location
Davis County, UT
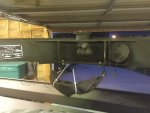
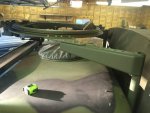
Here's a fun picture showing the clearance of the whole truck and gun ring on my 10' garage door entrance. The backrest is actually the highest part of the truck when there's no gun/cradle! My truck is a little higher than stock as it has 43.7" Goodyear G177 11.00-20 tires.
2016-07-09 09.05.59 HDR-2.jpg


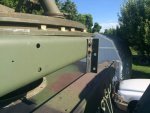
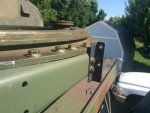
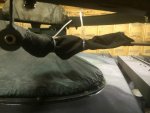
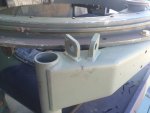
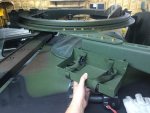
I haven't yet discovered what these tabs are for on the front leg:
2016-07-09 09.06.24.jpg
 

sigo

Lieutenant Colonel
Steel Soldiers Supporter
1,684
353
83
Location
Leavenworth, KS
Mine hasn't arrived to my new place yet so I can't reference, but as I recall I have the barrel clamp mounted to those tabs
 

Valence

Well-known member
Steel Soldiers Supporter
2,135
612
113
Location
Davis County, UT
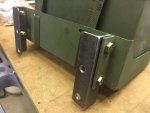
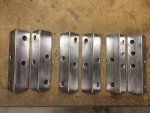
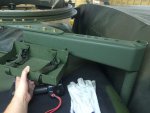
Before prime and paint, I used a wire wheel to clean up all 3 pairs of brackets. They looked excellent!
2016-07-08 21.28.24.jpg 2016-07-08 21.28.36.jpg

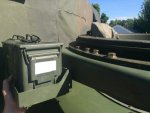
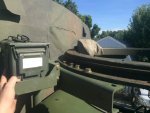
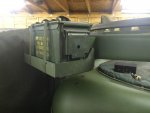
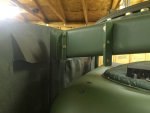
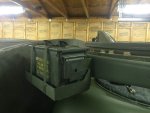
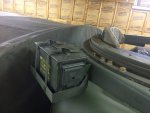
I mounted the first ammo can tonight though! I tell ya, it not only fit good and looks good, but it feels good too. ;)
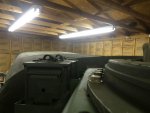
(sorry for the glaring overhead lights, it was, again, late)

In the first two pictures below, the slight color variance between the 34094 Powder Coat and Rapco 383 CARC substitute spray paint cans is visible, but, in my opinion, hardly noticeable in daylight when surrounded by all levels of various greens.

As can be seen, I did mount the cans in the "lower" positioning of the brackets I made. I liked how well they aligned with the top of the cargo cover and gun ring. Also, I plan on leaving the (empty) ammo cans on the trays at all times for looks and, well, I'd hate to put something in them and they get stolen. An empty can is pretty easy to replace (but I will admit, ones with good, readable stenciling are getting harder to find). Even if this stenciling says they have 5.56 in them (instead of .50 caliber).

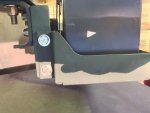
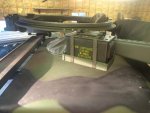
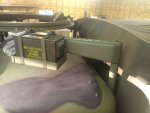
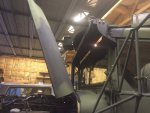
2016-07-10 20.48.53.jpg 2016-07-10 20.48.59.jpg 2016-07-10 21.06.27.jpg 2016-07-10 21.06.48.jpg 2016-07-10 21.06.20.jpg 2016-07-10 21.06.55.jpg 2016-07-10 21.07.11.jpg 2016-07-10 21.07.39.jpg 2016-07-10 21.08.16.jpg 2016-07-10 21.09.21.jpg

(In the second to last picture, yes, yes there is a fuel can strap around the light bar holding it up via the gun ring - lol! I have removed the passenger light bar bracket to trim it down a little to prevent some rattle and its paint was still drying)
 
Last edited:
Valence

Well-known member
Steel Soldiers Supporter
2,135
612
113
Location
Davis County, UT
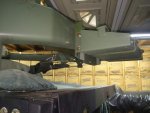
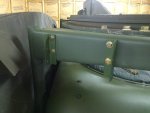
Second ammo can tray is in place. I suppose if I had made the angle brackets a little longer I could have attached to the 3rd, lowest hole in the support plate. I'll see how this tray rides with vibration, but as of right now, it's super solid.

2016-07-12 21.11.01.jpg 2016-07-12 21.10.53.jpg 2016-07-12 21.11.17.jpg 2016-07-13 20.05.14.jpg
(Note: the colors here are really washed out with the overhead lighting in the pictures. The color differences in the green in the daylight do not seem as extreme as in these photos)

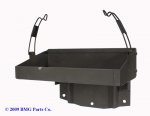
Yes, that additional, plate with the two ribs between the ammo can tray and the gun ring leg is what I'm calling a support plate as I cannot figure out any other purpose it may have had. I've seen few pictures of it on other folk's M66 gun rings, the best being these ones from BMGParts.com
m36tray.jpg trayplate.jpg

And I trimmed a little more on the light bar mounting bracket and used pliobond to glue a piece of thin rubber to the passenger front gun ring leg to help dampen any future vibration. It appears the piece of rubber slid a little. I'm not sure if that happened when putting on the light bar bracket or when I placed magnets on the rubber to hold it down while it dried. I assume the latter.
2016-07-12 21.00.23.jpg 2016-07-12 21.00.31.jpg 2016-07-12 21.07.38.jpg
 
Last edited:
Valence

Well-known member
Steel Soldiers Supporter
2,135
612
113
Location
Davis County, UT
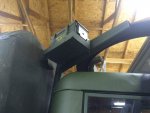
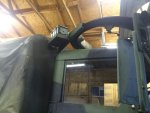
I hummed and hawed around for a bit as to where on the 3rd leg to attach the last ammo can tray since the leg didn't have any pre-made holes. I settled on attaching the ammo tray to the very end so that it is as more easily reached by someone standing in the turret.
image.jpg 2016-07-13 21.38.31.jpg 2016-07-13 21.38.35.jpg

I like to use magnets when I'm drilling holes on the truck to create less of a mess. It helps, but of course it doesn't catch anywhere near 100% of the metal shavings.
2016-07-13 21.49.56.jpg 2016-07-13 22.26.28.jpg

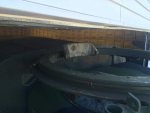
As can be seen, these brackets are just like the front-most ammo tray brackets with three holes because of the tapered end of the leg. I'm not sure if I'll need to also add a similar support plate behind these brackets like the ammo tray on the front gun ring leg has. More than 1/2 of the bracket on the left though is unsupported so another item to keep an eye on. I think it'll be fine though, especially for now since the ammo can it'll be holding is empty.
2016-07-14 19.59.18.jpg 2016-07-14 20.26.33.jpg 2016-07-14 20.27.36 HDR.jpg

And I'm done attaching the ammo can trays! Also, there is just enough room for one more tray on the rear-most portion of this leg if I so desire in the future.
2016-07-14 20.22.35.jpg 2016-07-14 20.22.48.jpg

The hood (with custom lift shocks from BBQROD) still has no problem clearing the gun ring and the front ammo tray that hangs way forward.
2016-07-14 21.07.32.jpg
 
Last edited:
Valence

Well-known member
Steel Soldiers Supporter
2,135
612
113
Location
Davis County, UT
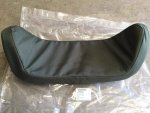
I believe I'm done with the gun ring. Well, except for one item: the backrest. The one I have actually isn't in that bad of condition (since the rusty internal metal plate has been blasted and powder coated), but the cover has holes and a lot of staining. I could just order a whole new backrest from BMGParts.com for $120 + s&h, but for ~$85 a local upholstery fellow could make me a new cover (using my old one as a template). I would provide him with the canvas from an NOS two man pup tent.

HOWEVER, I just found a NEW whole backrest on eBay (search for M66 pad cushion) for $55 shipped! (looks like the seller would be willing to cut a deal if you want a bulk number of these) So it goes without saying that I'm looking forward to getting it.
s-l1600.jpg
 
Last edited:
Valence

Well-known member
Steel Soldiers Supporter
2,135
612
113
Location
Davis County, UT
Mr. Valence, did you drill those with just a hand-held 1/2 drill?
Yessir, just a battery powered hand-held 1/2" drill.

Of course after measuring, marking, and center punching, I drill it in 3 stages. First a 1/4" pilot hole, then I drill out to 3/8" (I actually use the 3/8" drill bit to wallow out the hole a bit to give me room for error/adjustment), then I use a 1/2" drill-bit to deburr the front and back of the hole.
 
Last edited:
jbayer

Member
675
7
18
Location
St. Aug., FL/ McGrady, NC
I hummed and hawed around for a bit as to where on the 3rd leg to attach the last ammo can tray since the leg didn't have any pre-made holes. I settled on attaching the ammo tray to the very end so that it is as more easily reached by someone standing in the turret.


I like to use magnets when I'm drilling holes on the truck to create less of a mess. It helps, but of course it doesn't catch anywhere near 100% of the metal shavings.
View attachment 633503

I do the same, but I put the magnets in heavy duty zip lock bags. When done, hold over wherever you want to put the chips, reach in the bag, pull out the magnet, and all the chips just fall off.
I hate trying to get all the fine steel off. Especially off of rare earth magnets.
 
Last edited by a moderator:
Scar59

Active member
Steel Soldiers Supporter
2,811
41
38
Location
Mt. Eden, KY
HOWEVER, I just found a NEW whole backrest on eBay (search for M66 pad cushion) for $55 shipped! (looks like the seller would be willing to cut a deal if you want a bulk number of these) So it goes without saying that I'm looking forward to getting it.
View attachment 633512
Valance.
I'm interested in a pad assembly if we can save a buck.
JC
 
Last edited by a moderator:

Another Ahab

Well-known member
17,828
4,164
113
Location
Alexandria, VA
I do the same, but I put the magnets in heavy duty zip lock bags. When done, hold over wherever you want to put the chips, reach in the bag, pull out the magnet, and all the chips just fall off.
I hate trying to get all the fine steel off. Especially off of rare earth magnets.
That's a really great idea. :beer:
 
Last edited by a moderator:
Top
AdBlock Detected

We get it, advertisements are annoying!

Sure, ad-blocking software does a great job at blocking ads, but it also blocks useful features of our website like our supporting vendors. Their ads help keep Steel Soldiers going. Please consider disabling your ad blockers for the site. Thanks!

I've Disabled AdBlock
No Thanks