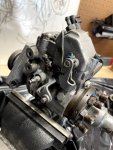
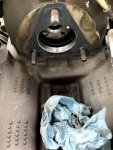
May I recommend that you change the rear coolant gaskets also. Since the heads are interchangeable right for left the coolant passages are also on the rear heads. One is just a blank cover plate and the other houses the glow plug temperature sending unit. Show a picture of which sending unit you have. They make an updates one with a better connection if you have the OEM one still attached. Also after you have the injection pump installed and are trying to bleed the air out. I would remove all 8 glow plugs. It helps spin the engine quickly and is less strain on the starter and batteries. Just a tip. After you see fuel dripping from the loose nozzle nuts you can reinstall the glow plugs and attempt a normal start. Good Luck. I think you need to replace the vacuum pump gasket and the air filter gasket at the base of the air filter to intake housing. Fel Pro makes these gaskets also. But if you are in a pinch a little Permatex will do the vacuum pump and you can fly without the housing gasket. Just a thought. Do it right the first time and spend time and money where needed. Looking forward to the next report. Thank you.
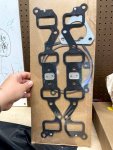
I will do all these things for sure. Are the rear coolant passages a different gasket than the 35357? If so, would you happen to know what the part number for those are? And also the vacuum gasket? I did get some new intake gaskets in my gasket kit I already have, I posted a picture of it above. Not sure if any of the gaskets you're referring to are in that pack.
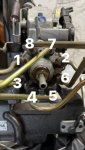
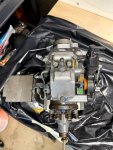
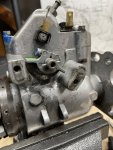
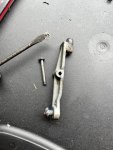
And I forgot to answer. The small pin I am referring to is the pin that activates the plastic vacuum control valve. It has 2 hose connections on it and controls the transmission shift. That little hatched pin has been missing on a few pumps. Retain that pin just in case. Good Luck.
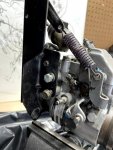
OK, I was not sure where I was even supposed to be looking to find this dowel. I will go try to look for it right now when I go to the garage. Do I have to remove that black plastic part with the two barbs on it to get access to it?
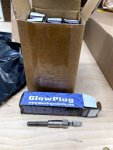
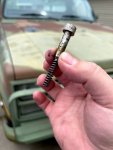
And the glow plugs you pictured will require you to replace the female spade connectors on the wiring harness or making a small adapter with 3/16" male spades to 1/4" female spades. I would make the adapter. I always use and have for over 27 years the AC Delco 13G glow plugs. Never looked back. They worked tried and true. Good Luck.
These glow plugs are supposed to have the smaller spade connector for CUCV, but if I have to make some adapter that's not a problem.
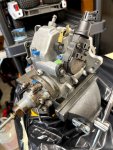
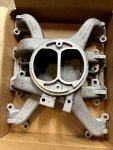
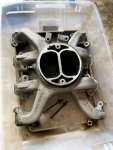
Thanks for all your help through this. I'm a one man show with this whole job so any help or tips really go a long way. I stayed up late last night degreasing more parts in the garage. You could eat out of the intake manifold now LOL.
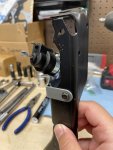
Right now I'm going to spend some time degreasing the engine where the IP and manifold covers. That way it will already be cleaned up when I go to start installing.
Please let me know about the gaskets so I can go run to get those, too.


")