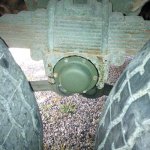
Inspected and serviced the trunnion (spring seat) bushings. Also drilled and tapped the covers for grease zerks (I opted to locate them facing at a 45 degree angle downward, rather than on top of the cap; less risk of water seeping in). The military welded a massive plate steel trailer hitch to my truck which comes in very handy when I need to lift the frame up and let the axles dangle. I figure that greasing the bushings with the weight off the spring seat gets more grease to where it matters.
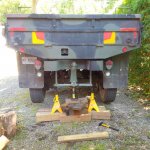
Next step was to pull the rear wheels off and tackle the torque rod bushings (dog bone bushings). I did not have a failure but noticed increased deep cracking and what looked like partial separation. This fellow here still "passed" the mil spec "crowbar test", but would I continue to trust it? Nope.
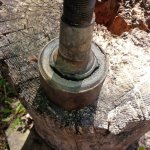
I opted for the upgraded parts from Erik's. Cheap? No. Solid? You bet!
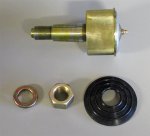
This job sucks, no matter what. It took me (working alone) all afternoon to do all 12 ends (starting with truck already up in the air). I used the tips I learened here on the forum, such as
- use a soft steel wood splitting wedge and a 4x4 to put tension on the studs (works well for the ones behind the brake drums), then whack the bracket with a BFH. The stud eventually pops out.
- I found that putting the wood splitting wedge half and half behind the torque rod ends at the center bracket (lower rods) also allowed the stud to be tensioned for easier pop
- The two top rods sucked less than I anticipated. I bought a cheap 1 1/2 inch socket and cut it very short with a grinder. Just enough left to securely grab the nut. With the axles dangling, it is easy to pivot the spring pack so access is possible. I could actually do it by hand, not even needed to step onto the wheel studs. Yes, it is playing around a bit, yes that part of the job still sucks, but in the end the hex nuts came out without drama.
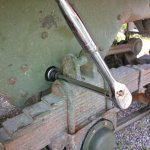
I left them attached holding with only a few threads and stuck a steel rod into the nut opening. That way the steel rod would not slide off the stud when I hit the rod with a BFH. I did not see it necessary to cut the U-bolts etc.
- My 12t shop press handled the job with ease. I used a cheap 2 1/4 inch socket with a steel plate on top to press all 12 ends out and the new ones in. The socket is probably "just" big enough but worked fine. On the new ends, it sits exactly on the high "ridge" that runs just inside of the edge. For an exact fit, get 3" OD steel pipe with 1/4" wall thickness. Or play with a discarded torque rod end to get the steel sleeve off and use it as a press tool.
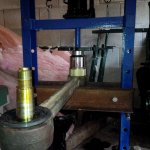
- The old ends needed some power to break loose (audible *pop* each time) but then come out with ease. The new ends slide in with little pressure. I could get them in a good ways by pumping the press jack with my finger, so I doubt they take more than 1 or 1 1/2 tons.
- I am wrecked after this. I'm not 20 anymore. ****it. The torque rod job took me a good five hours, working by myself.
Disclaimer for the pictures: I have SIX 6 ton axle stands that I employ. The pictures may not always show the axle stands in place because they move around, depending on where I have to work, but I do not rely on the rear lifting and support points alone.
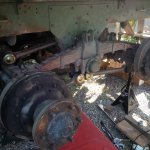
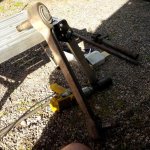
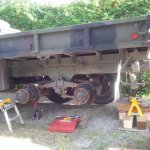
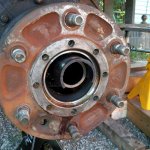
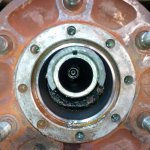
So, tomorrow it is axle leaks (I suspect a leaking brake cylinder or two) and oil change. Maybe pinion seals, but I might push these to Sunday....






![20170909_184146[1].jpg 20170909_184146[1].jpg](https://www.steelsoldiers.com/data/attachments/479/479930-db8b547e0031dcc6719ed68aa03b74d5.jpg)