- 7,426
- 2,538
- 113
- Location
- Interlachen Fl.
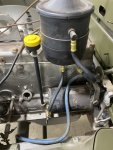
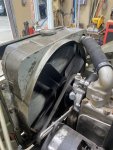
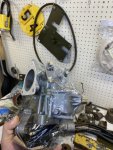
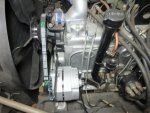
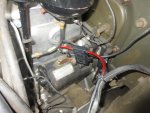
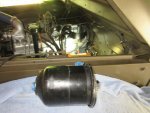
Per the help of member pjwest03 aka Harlan starting in on my one wire alternator upgrade. I still have a 16 /19 mm pully on order but things looking good so far. I am using all my stock brackets and as of now looks like I will need a shorter stock belt. Had to rework the alternator just a bit but being a caveman it was not hard. I will keep up on the thread if all works out on the alinement and show what I had to do. Thanks Harlan so far. Also I have to many 24 volt headlights left over from the other trucks so quick wiring job. I am not going to pay the high price for the bulbs with the wire attached to the bulb and connectors that were stock as no one sees the connections and now quick easy change. Wires soldered, liquid tape and heat shrink.
Attachments
-
4.6 MB Views: 51
Last edited:


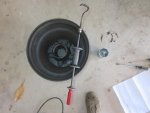
") . Nice thorought job, always dread seals.
. Nice thorought job, always dread seals.