Something good happened

When I got my truck I was in a hurry to get it registered, so I wired up the tag light and reverse light to a switch in the dash. But I wasn't happy with the non-military wiring (I used 20 gauge wire I had on hand, two conductor black and red) and the fact that the lights weren't controlled by the three-lever switch. I most always remember to turn off the lights because I can see the LED instrument panel lights, but other things not so much.
Anyway, this morning I went out to finish wiring up my interior light and the switch it's attached to. I was around back of the truck checking that the backup light worked (I had to re-do the power connection) when I noticed a packard connector hanging down from the rear passenger side light wiring. Low and behold, when I checked it with my meter, the connector turned out to be connected to the reverse switch. So I disconnected my hacked-up wiring job and connected the backup light to that connector. Now it's only on when in reverse (no manual switching) and only when the service/drive lights are on.
I decided to look at the tag light again, too. I had one extra set of packard connectors, so I made up a Y, put it in-line with the marker light, and hooked the tag light to it. Worked a treat. So after verifying that it all worked, I pulled out the hacked-up wiring and it looks much better underneath.
Plus, no more trying to remember to switch on the tag and backup lights manually. No more worrying I'll kill the batteries by leaving those on even if I remember to turn off the three-lever switch.
A good day wrenching.

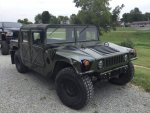 112.8 KB Views: 78
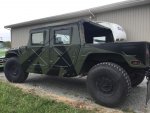 85.5 KB Views: 90
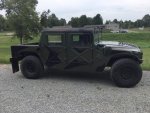 112.3 KB Views: 84
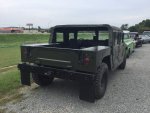 92.5 KB Views: 76


