Bart
Member
- 110
- 0
- 16
- Location
- Netherlands Europe
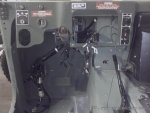
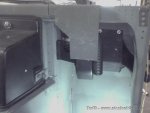
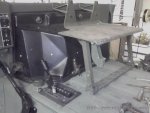
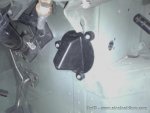
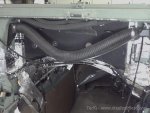
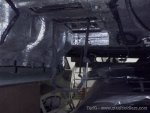
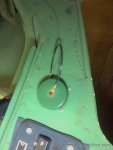
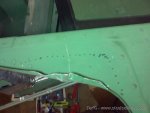
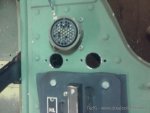
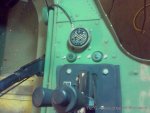
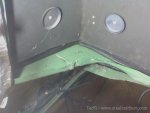
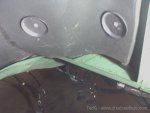
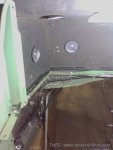
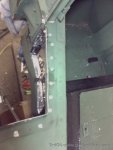
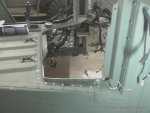
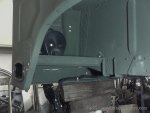
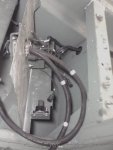
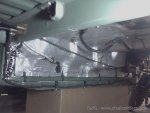
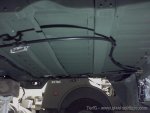
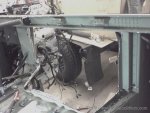
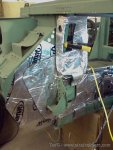
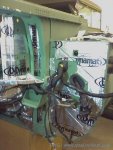
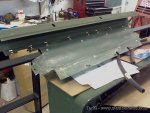
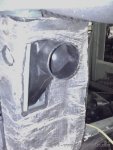
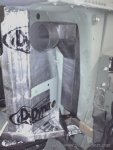
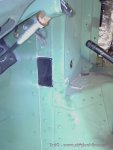
Thanks Bart and stop by the next time you visit the States. Also, on my next trip over the pond to the Nederlands, I will stop by! ANYTIME Mate !!. stay in toutch !!!TedG said:Well I took a half day and finished up working on the dynamat. I did the entire tunnel area front to rear. I hope she is quiet as I tool down the road at highway speeds. I then covered the dynamat with the factory insulation (sorry for the blurry picts). Then I fixed the tcm/tiss/toss/etc harness to tub.
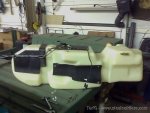
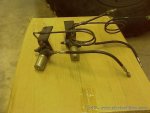
Also, I received my Ibistek tow bar made specifically for the hmwwv! Sweet and it only weighs 60 punds...no more medium towbar or feet!
Thanks Bart and stop by the next time you visit the States. Also, on my next trip over the pond to the Nederlands, I will stop by!
Regards
Humvee's ROCK!!!
 opcorn: