Small update
Hi,
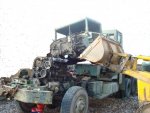
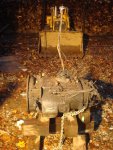
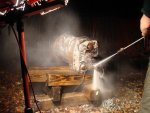
It was rainy & windy this past weekend so it was perfect weather to fiddle around with mechanicals. We're a little closer at mating the engine to the transmission.
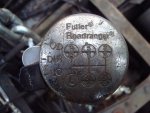
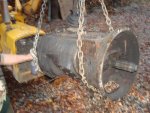
-Seperated 13spd. from old NTC-350 and pressurewashed
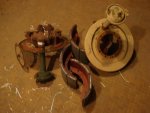
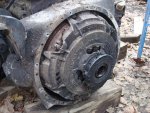
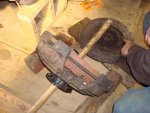
-Removed clutch assembly from 350
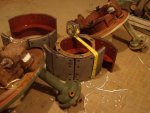
-Removed aluminum SAE No.2 clutch housing from 350
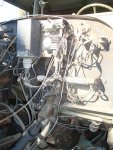
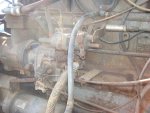
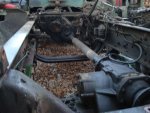
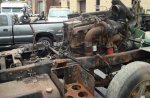
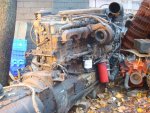
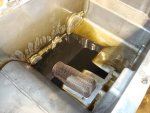
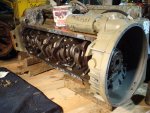
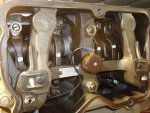
-Removed oil pan & rocker covers on 400 to inspect
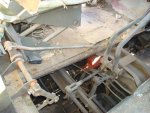
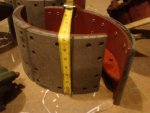
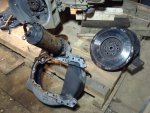
It has been found that the 400 is setup with a cast iron SAE No.1 Clutch housing so we'll use the alum. No.2 from the 350. It has also been observed that a dual 15" disc clutch assembly is utilized on these beefier trannie engine combos. When the flywheels were pulled, hot spots were found but no warping was found. The clutch discs don't look too bad. We'll keep as emergency spares and have the flywheels machined and get new clutches. Its a Reman. Lipe seup. (We'll look into self adj. clutch assemblies.)
A bit of good news was the confirmation that the actuation of the clutch linkage is the same as the Spicer 5spd. (CounterClockwise)
![[thumbzup]](https://www.steelsoldiers.com/images/smilies/icon_smile_thumzup.gif "Thumbs Up [thumbzup]")
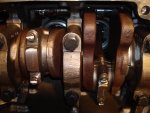
As far as the engine is concerned, It seems brand new. No foreign objects, filings, etc. were found in the pan. Probably just run at the factory. The oil still has an amber color to it. There are also no stampings on the pan rail, connecting rods, or Main Caps to indidcate that any bearing journal size was over/undersized. There are no reman. tags anywhere on the engine and nothing of this nature on the engine tag.
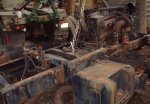
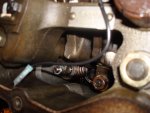
The game plan for the transmission is to replace the input/output seals as well as the gaskets. One of the rear support bolts needs to be easy-outed and the threads repaired.
*From the mounting surface of the bellhousing to the centerline of the U-joint hole on the yoke, this distance is 38.375" Roughly 10"+/- longer than the Spicer 5spd.
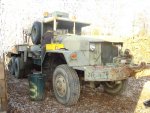
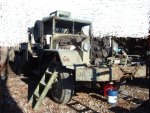
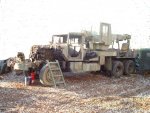
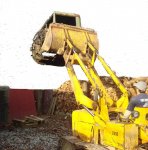
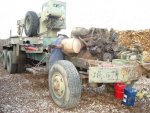
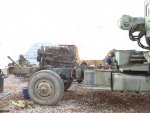
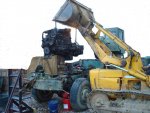
Enjoy the pics!


 (catatonic)......
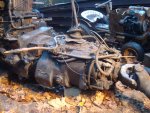
 ....LOL...JK