- 4,812
- 1,255
- 113
- Location
- Gaithersburg, MD
Jason, the trucks look great! I am very happy that a friend got my truck! Good luck with it.
Steel Soldiers now has a few new forums, read more about it at: New Munitions Forums!


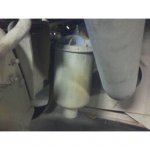
Jason,Army Ed, thanks for the info. I will pm you offline. Yes, they both have the ABS kits. They both also have the fuel/water separators on the side of the motor. Is this the same one you are refering to?
I had this truck running perfectly and now she wants to fight me on this onw. Boy, do I hate water in the fuel.
Halftrack,
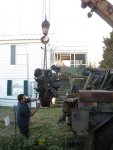
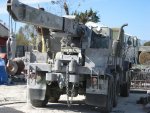
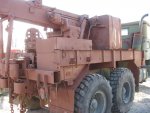
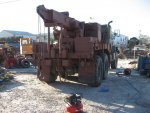
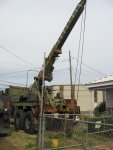
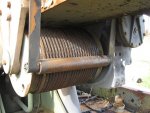
I've been following the work you've been doing on your wrecker. Wow.
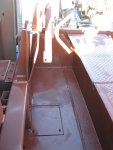
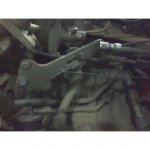
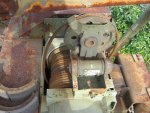
I saw a pinched copper line in image 26 of 28, in post #90. It runs past the rubber shock mount. Though you'd like to know.
Keep the faith.
APN-59
Thanks Chris and the same to you! I will wait for the pics to see the setup and to see how it is mounted.Jason,
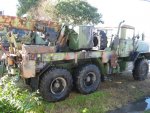
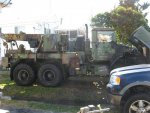
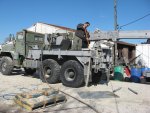
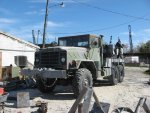
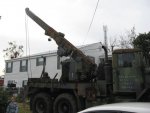
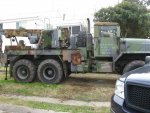
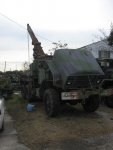
Congrats on getting the other wrecker home! The only thing better than one M936A2 is two M936A2's!
I think Ed was referring the the field modification where the M809 or M939 fuel filter/separator is fitted to the A2 trucks. I started gathering pieces for my install today. I am tired of clogging up that dinky little inline filter! I should get it put on next week. I'll take lots of pics.
Thanks Ed. Winslow has some of the throttle linkage kits BTW.Got some NSN's for some of the MWO's out there if anyone needs em
Accelerator Linkage kit 2590-01-424-1705
Fuel tank vent kit for M939 and M939A1's 2910-01-291-9596
FRONT BRAKE VALVE KIT 2530-01420-4221
Spring brake valve guard kit 2530-01-286-7754
Front lifting pin and shackle kit 4030-01-372-9833
Automatic Throttle Kit 2910-01-290-0738 for M936 and M936A1
when i find more ill tell ya.Everytime i am doing an inspection on a certain model ill try and toss up all the MWO's for it.Incase some of you need em
mine doesn't have it done. maybe I should call and get one. might help me get the hand throttle issue worked out.Thanks Ed. Winslow has some of the throttle linkage kits BTW.
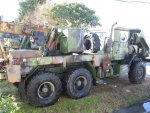
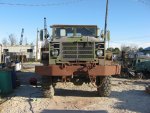
Thanks Chris, like I said before, I would still be dragging my butt if it wasn't for your thread motivating me to finish it. If the weather holds out this weekend, i will be sand-blasting the truck. I will be using the rustoleum rusty metal primer for my base coat and plan on putting it on thick! I HATE rust and corrosion1I'm glad you are making some progress, Jason. I enjoy reading your regular updates and seeing your pictures.
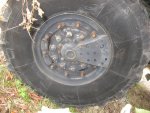
I have seen new and used CTIS wheel shields on eBay.