bigginstactical
New member
- 246
- 1
- 0
- Location
- port angeles washington
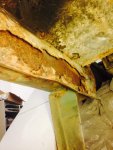
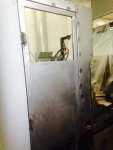
Those are mighty clean cuts. You're a wizard with a cutting wheel:
- Just a plain straightedge to guide the wheel?
- And then how do you finish those inside corners (I'm not thinking the cutting wheel gets you there, but maybe so)?
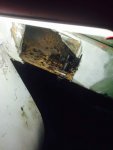
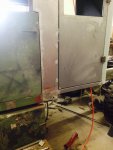
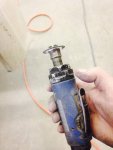
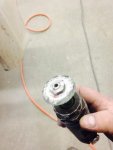
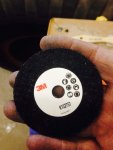
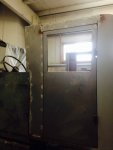
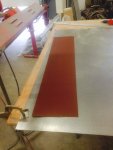
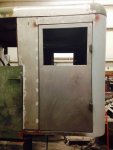
Usually I scribe, sharpie or tape a line to follow. Haven't used a guide as I'm able to get it fairly straight with this method. Here are some pics of what I'm using. You want the really thin 3m wheels. They are expensive but worth it if you have to do a lot of cutting. Id say 90% of the cuts I made on this whole project where with that tool. This is what I used on the window hole as well.
Attachments
-
 35 KB Views: 40
 -
 27.2 KB Views: 40
 -
 39.3 KB Views: 40


.jpg")
.jpg")

.jpg")
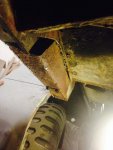
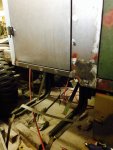
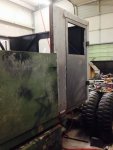
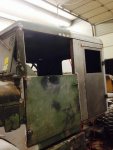
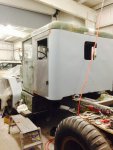
") Have a pretty similar repair on the right side as well. I also finished up the filler panels on both sides between the doors.
Have a pretty similar repair on the right side as well. I also finished up the filler panels on both sides between the doors.