harleyhouse
Well-known member
- 1,256
- 30
- 48
- Location
- Oakmont, Pennsylvania
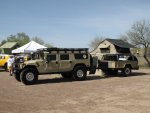
Clutzer: will it be color matched to the H1?
Steel Soldiers now has a few new forums, read more about it at: New Munitions Forums!


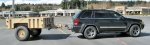


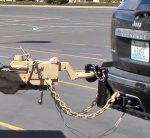

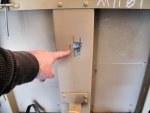

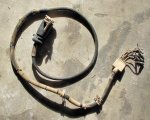
I am going a different route for a couple of reasons. The most minor was that I wanted to keep the original harness intact. Second, the 12 wire cable is huge and heavy, and I don't really want to use it. I worry it might pull itself out of the 7-pin socket on my jeep by its own weight. I ordered some shell connectors from Eric's, so it should be plug-and-play.Mainsail,
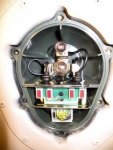
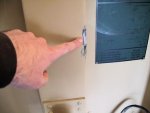
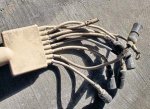
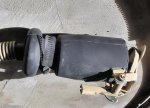
I just took the hose clamp off, pushed the heavy black boot back, labeled and cut the wire I needed long, the ones not needed short, slid old boot off. The new boot was a bit tight but some silicone spray and it slid right on, wired the 7 way plug on, and pulled the new boot up to it and it was good to go. Finding the bulbs is turning out to be a pain, may end up ordering them online- .50-$1.00 bulb will cost $7 to ship
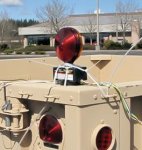
The 24v bulbs have 2 filaments to the 12v one filament. That is why it is so dim, 1/2 the voltage through twice the filaments.with 12V, the tails not so much. They’re good enough, and probably legal as is, but I would like to swap the 24V filament bulbs for 12V.

I went to Napa today and got 12V bulbs, installed, and everything works as it should.The 24v bulbs have 2 filaments to the 12v one filament. That is why it is so dim, 1/2 the voltage through twice the filaments.
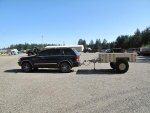
Are you looking to change rim/tire size to match your jeep? Sorry, if I'm missing something, I just tuned into this thread after a bit.I went to Napa today and got 12V bulbs, installed, and everything works as it should.
Small bulb 623 = 631 (12V) @ $5.49
Large bulb 1683 = 1156 (12V) @ $3.99
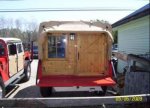
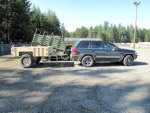
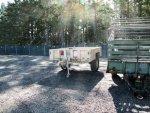
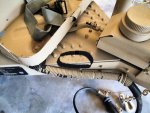
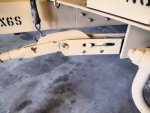
I also used the shop vac to suck all the dirt and debris out of the drain holes and the tie-down pockets. It looks a lot better now.
Now to find two chevy 8-lug wheels cheap....