Toolmakers Deuce
New member
- 27
- 0
- 1
- Location
- Bath, MI
Tom, could make some new ones on the lathe. What type of engineer are you Tom? Mechanical? Your doing a fantastic job Tom 
Steel Soldiers now has a few new forums, read more about it at: New Munitions Forums!


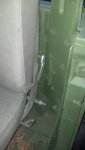
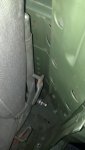
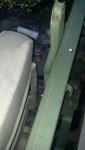
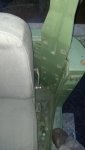

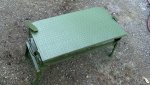
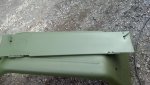
Thanks Tom! Let me know how the A2 passenger bench seat fits with A3 belts too.I took pictures of the stock Deuce seat mounted in the cab for Shenkmen… he asked a while back if I could mount it in there and I finally got to it. It shows there is enough clearance with the A3 seat belt brackets and the Stock Deuce Seat.
Seatbelts?? I already proved that you can crash a deuce and be just fine without them! just a little scratch on your face and if you have a rifle mount, you will take some skin off 2 knuckles upon impact. hahaThanks Tom! Let me know how the A2 passenger bench seat fits with A3 belts too.

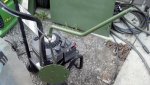
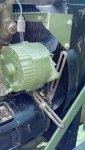
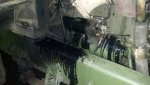
Did you take the oil pressure regulator off and clean it?Are the heads cracked between the valve seats?
 opcorn:
No i did not. I never heard of cleaning them out. i put 12,000 miles on the truck since i got it 2 years ago with regular oil changes. wouldnt it stay clean since it has been driven regularly? It has 30psi of oil pressure at idle and 60 going down the road. I should check it with a mechanical gauge too.Did you take the oil pressure regulator off and clean it?
(since we are asking questions about things that are not easy to reach) but that is an important thing and it is on the outside of the engine and they usually have some crud in them.