Powershift
Member
- 101
- -7
- 16
- Location
- Ca
VERY nice work!
Steel Soldiers now has a few new forums, read more about it at: New Munitions Forums!


") It takes talent to do what you do and man I wish I had it! Ive spent a couple of hours reading through the whole thread. I might tackle with painting the inside of the cab and your pictures and information really did give me the confidence to hopefully start here soon. Thanks wsucougarx!
It takes talent to do what you do and man I wish I had it! Ive spent a couple of hours reading through the whole thread. I might tackle with painting the inside of the cab and your pictures and information really did give me the confidence to hopefully start here soon. Thanks wsucougarx!
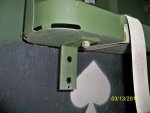
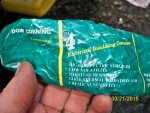
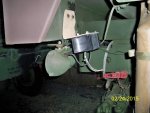
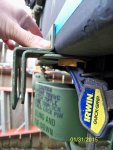
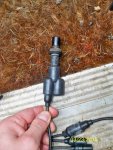
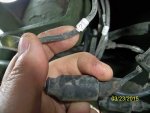
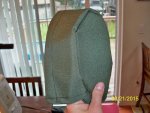
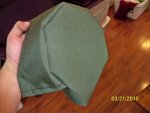
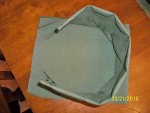
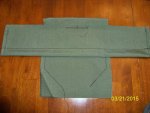
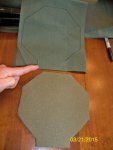
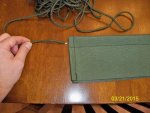
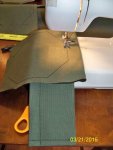
 . I found you've got to be somewhat self-sufficient in this hobby as not many needed items are at our disposal. These covers being one of them. Sorry, I didn't make extras and I do not have any for sale. They're too time consuming to make. It cost me about 80 cents in material to make each one. However, if I were being paid for labor then...
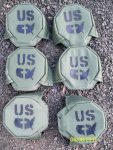
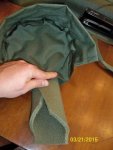
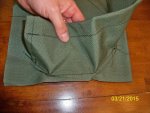
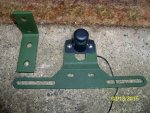
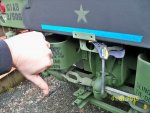
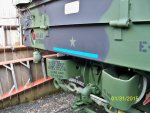
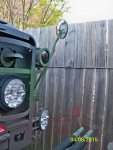
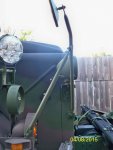
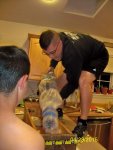
Is your wife going to blame me for this idea?Well, there is one thing this truck has been missing since the addition of the Lightweight Weapon Station. Something that has been an iconic symbol of military might. Something that was designed towards the end of WWI and continued through WWII on into today. It continues to be used in battle and will remain in the US arsenal for decades to come. I guess you'll just have to wait and see..........
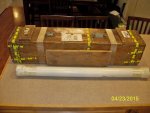
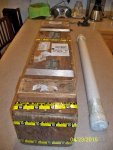
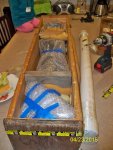

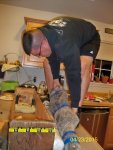
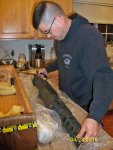
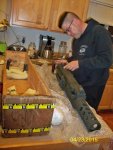

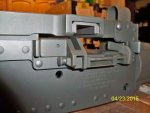
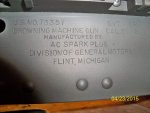
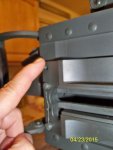
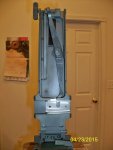
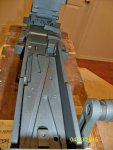
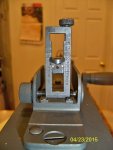
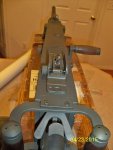
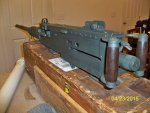
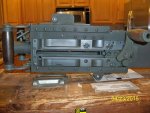
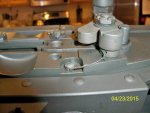
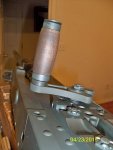
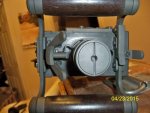
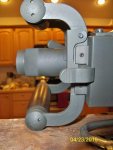
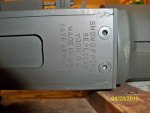
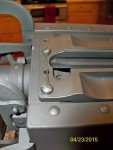
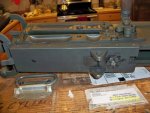
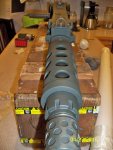

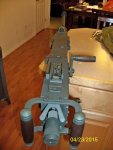
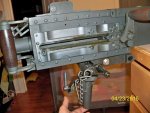
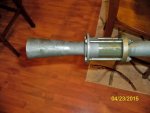
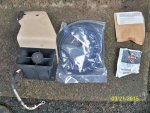
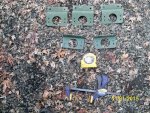
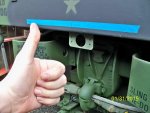
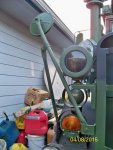
That thing is a work of art; excellent.More pics of the M2HB as it comes from SHOW OF FORCE. Again, this is made by Mr. Robert Connor. He puts around 233 hours into each M2HB he makes...wow!!! He fabricates parts, assembles and even parkerizes his own parts.