Winch Control Cable Replacement- Wind-Neutral-Unwind
A couple days I manage to work the old cable loose. Just like everything on this stinkin' truck, it's a test of patience! The old cable was seized. It was like that since day one but I never really had any motivation to get her fixed until recently. The biggest obstacle was locating the correct cable for a decent price. I scoured the listings on ebay and tried to source a cable from MV vendors to no avail sometime ago. I found a cable or two but I wasn't going to spend the outrageous $140 they wanted for it. So a couple weeks ago, I was perusing ebay and found a listing for a military cable that looked like what I needed. None of the NSN's or part numbers matched what was in the M939 TM Parts manual but decided to take a chance. I got it for $40 shipped and luckily it was the correct one

Enough of that, let's get to the install.
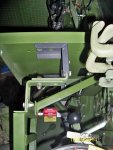
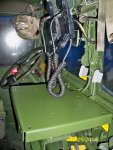
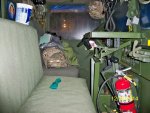
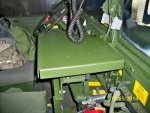
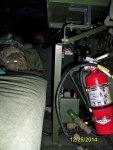
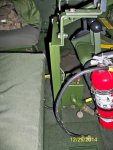
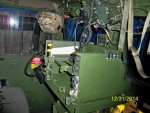
The removal of the old cable took some pounding and tugging to her out of the cramped space it has been sitting for the last 28 years. I had to use a hammer to pound her out of her stubborn space. Once out everything was good to go. The challenge of the install was snaking the cable from below up into the winch control box. There is small space of about 2.5-3 inches to work with between the front of the cab on the monstrous NHC-250. Naturally, the winch control cable lives in this tiny little void of a space. With patience and perserverance you can get it done!!
The biggest advise I can give is to grease the top of the new cable to avoid water from going down into the cable. I'm thinking this is what happened throughout the years that lead to the cable being seized. Also, working the levers occasionally will help keep them loose as well. Also during install, hold off on tightening down the cable retaining clamps until you have the cable ends attached to where you want them. The hydraulic pump is in the naturally in it's neutral position. So you want to make sure your winch control lever and the neutral hydraulic pump piston are both in neutral position before you tighten everything up. It's a simple process but you just have to keep verifying where everything is when you're by yourself without soldier B.
Pics:
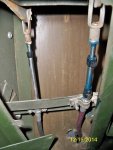
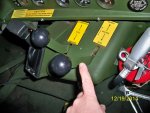
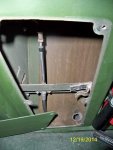
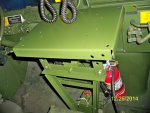
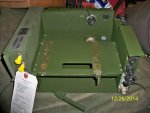
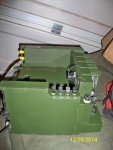
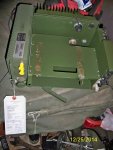
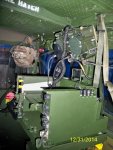
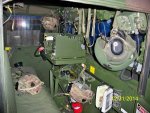
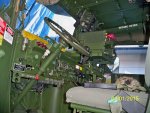
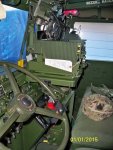
1- My seized control lever that I'm dealing with
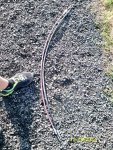
2- Old cable next to new cable. Verified hardware and length were the same
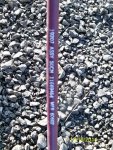
3- Numbers off the new cable (didn't locate any nomenclature off the old cable)
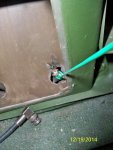
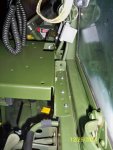
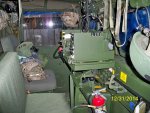
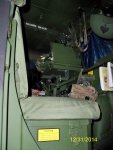
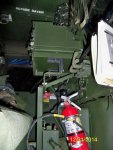
4- Void where the old cable was
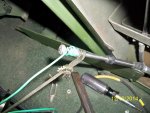
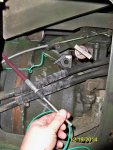
5- Fishing a wire down the cable run to capture the new one
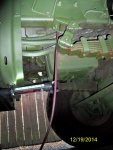
6-Run the new cable up from the bottom following the same route as the old cable
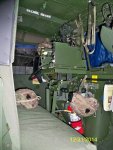
7- Open the tranny inspection door, grab the new cable and attach your pull wire (I attached a nut at the top of the cable to decrease the chances of the cable end from getting hooked on everything in it's pathway)
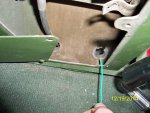
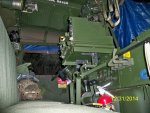
8- Pull the cable up into the hole...this is a test of patience right here. The cable end doesn't bend so you'll have to be creative to get her up out of the hole
9- I used some 550 cord to bend the cable end so it wouldn't snag on the insulation panel
10- Grease up the exposed cable shaft


